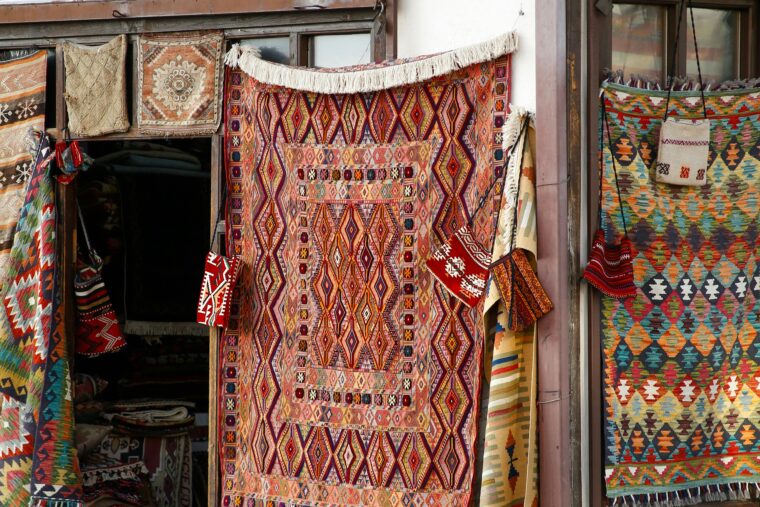
Welcome to the wonderful world of weaving! If you’re new to this ancient craft, you might feel a bit overwhelmed by the variety of techniques and tools available. But don’t worry—weaving is an incredibly rewarding hobby that anyone can learn with a bit of patience and practice. In this guide, we’ll walk you through some basic weaving techniques step by step, perfect for beginners looking to create their first woven project with confidence. Whether you’re interested in making a simple coaster, a small wall hanging, or just practicing your skills, these methods will set you on the right path.
First, let’s talk about the essential tools you’ll need. For most beginner projects, a simple frame loom is ideal. You can easily make one yourself with a wooden frame and some nails or purchase an affordable kit online. You’ll also need yarn or thread in various colors, a weaving needle (or a large-eyed tapestry needle), a pair of scissors, and a comb or fork for packing down the weft threads. Having these basics on hand will make your weaving journey much smoother.
Now, onto the techniques! We’ll cover three fundamental methods: plain weave, soumak weave, and rya knots. Start with the plain weave, as it’s the simplest and forms the foundation for many other patterns. To begin, set up your loom by warping it—this means stretching the vertical threads (the warp) tightly across the frame. Tie the warp threads securely at the top and bottom, ensuring they’re evenly spaced. Once your loom is warped, you’re ready to start weaving the horizontal threads (the weft).
For the plain weave, simply pass the weft thread over one warp thread and under the next, repeating this pattern across the row. When you reach the end, turn around and go back in the opposite direction, making sure to alternate the over-and-under pattern to create a tight, even fabric. Use your comb or fork to gently push the weft threads down toward the previous rows; this is called “beating” and helps maintain consistent tension. Practice this for a few rows until you feel comfortable—it’s the backbone of weaving and will give you a solid base to build upon.
Once you’ve mastered the plain weave, try the soumak technique to add texture and visual interest. Soumak involves wrapping the weft thread around the warp threads in a figure-eight pattern, creating a braided effect. To do this, bring the weft thread over two warp threads, then loop it back under one and over the next two. Continue this across the row, and you’ll see a lovely, raised pattern emerge. It’s a bit more advanced than plain weave but still beginner-friendly with a little practice. Soumak is great for borders or accents in your project.
Another fun technique for beginners is the rya knot, which adds fringe or tassels to your weaving. Cut several pieces of yarn to your desired length—say, 6 inches for a short fringe. Fold a piece in half to form a loop, then place it behind two adjacent warp threads. Pull the ends through the loop and tighten to secure the knot. Repeat this across a row to create a fluffy border. Rya knots are perfect for finishing touches on wall hangings or adding a cozy feel to textiles.
As you work on your first project, remember to maintain even tension on your threads to avoid loose or tight spots. Take breaks if you feel frustrated—weaving should be enjoyable! Don’t be afraid to experiment with different yarn types and colors; mixing textures can make your piece unique. When you’re finished weaving, carefully remove it from the loom by cutting the warp threads and tying them off to prevent unraveling. You can then add any final touches, like trimming the fringe or blocking the fabric to shape.
Weaving is not just a craft; it’s a meditative practice that connects you to centuries of tradition. With these beginner techniques, you’ll be able to create beautiful, handmade items in no time. Keep practicing, and soon you’ll be ready to explore more complex patterns and larger projects. Happy weaving!


I’m a total newbie and found the soumak technique a bit tricky at first, but your explanation made it easier. Can’t wait to try the rya knots!
This guide was so helpful! I just finished my first plain weave coaster, and it turned out great. Thanks for the clear instructions!
Love the step-by-step approach. It inspired me to start a weaving group in my community. Any tips for group projects?
I’ve been weaving for years, and this is a solid intro for beginners. Maybe add a section on troubleshooting tension issues?
Contacts
Our Team
Benjamin Anderson
IT Director
Daniel Thompson
Regional Sales Director
Evelyn Rodriguez
Training Manager
The tips on yarn selection were spot on. I used a mix of wool and cotton, and the texture is amazing. More posts like this, please!